
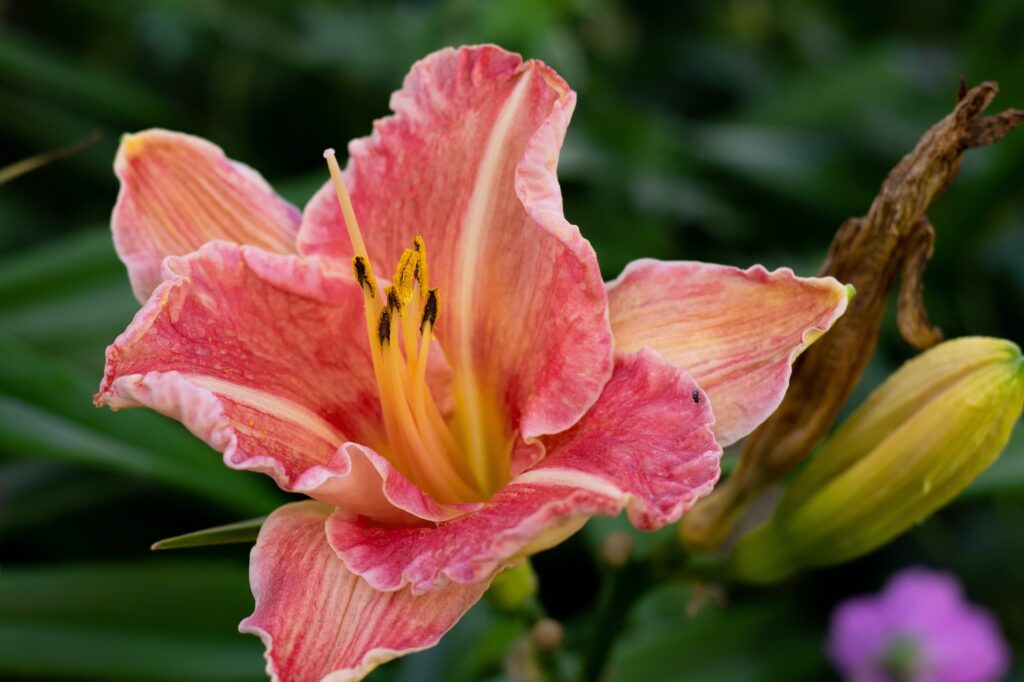
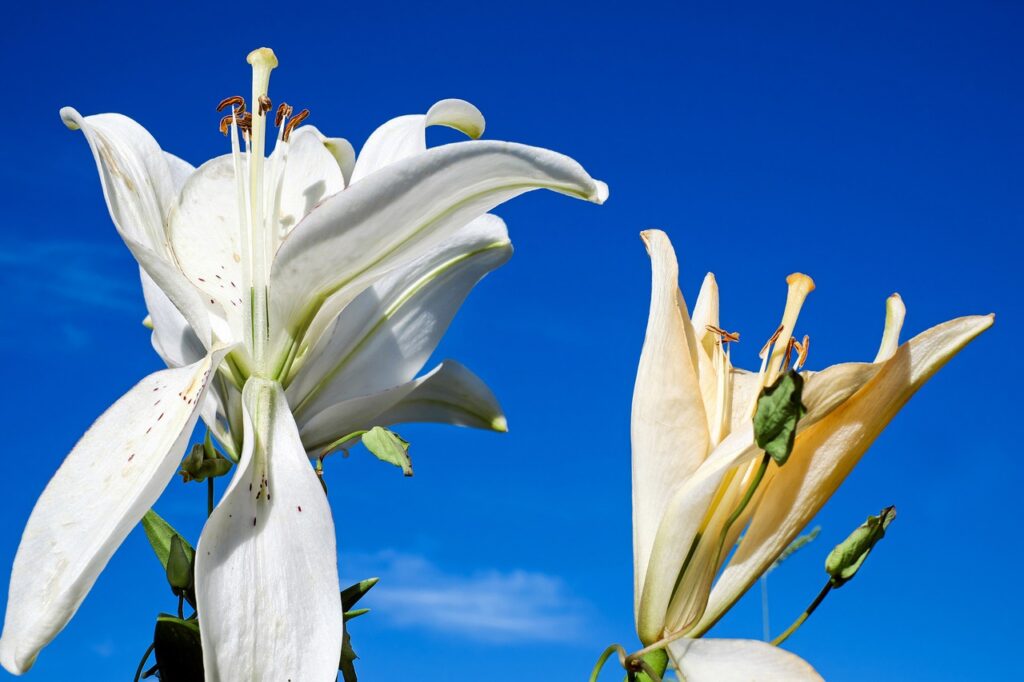
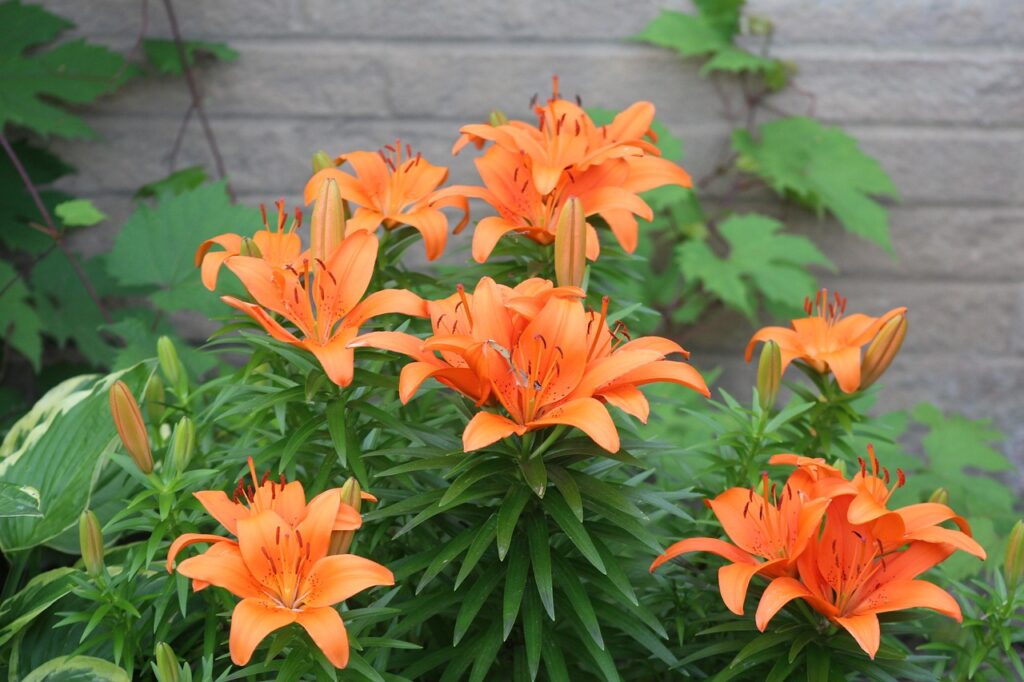
Daylilies or hemerocallis are popular perennial plants known for their vibrant and diverse blooms. They belong to the Hemerocallis genus and are native to Asia, primarily China and Japan. Daylilies are valued for their ability to produce a profusion of flowers in a wide range of colors, shapes, and sizes. These hardy plants have long, strap-like leaves and sturdy stems that support the beautiful blooms. They are also known for their adaptability to various climates and soil conditions, making them a favorite among gardeners worldwide. With proper care, daylilies can provide a stunning display of flowers throughout the summer months.
Why is post-bloom care important?
Post-bloom care is crucial for daylilies to ensure their continued health and vigor. After the blooming period, it is essential to focus on tasks like deadheading, watering, fertilization, division, pest and disease management, and winter care. Deadheading, the process of removing spent blooms, promotes the plant’s energy allocation towards new bud production instead of seed development. Proper watering and irrigation practices prevent stress and help maintain optimal soil moisture levels. Fertilization provides the necessary nutrients for healthy growth and blooming. Division and transplanting help rejuvenate overcrowded clumps and create new plants. Additionally, pest and disease management and winter care measures safeguard daylilies against potential threats and prepare them for the dormant period. By paying attention to post-bloom care, gardeners can ensure that their daylilies remain vibrant and continue to grace their gardens with captivating flowers year after year.
Deadheading Daylilies
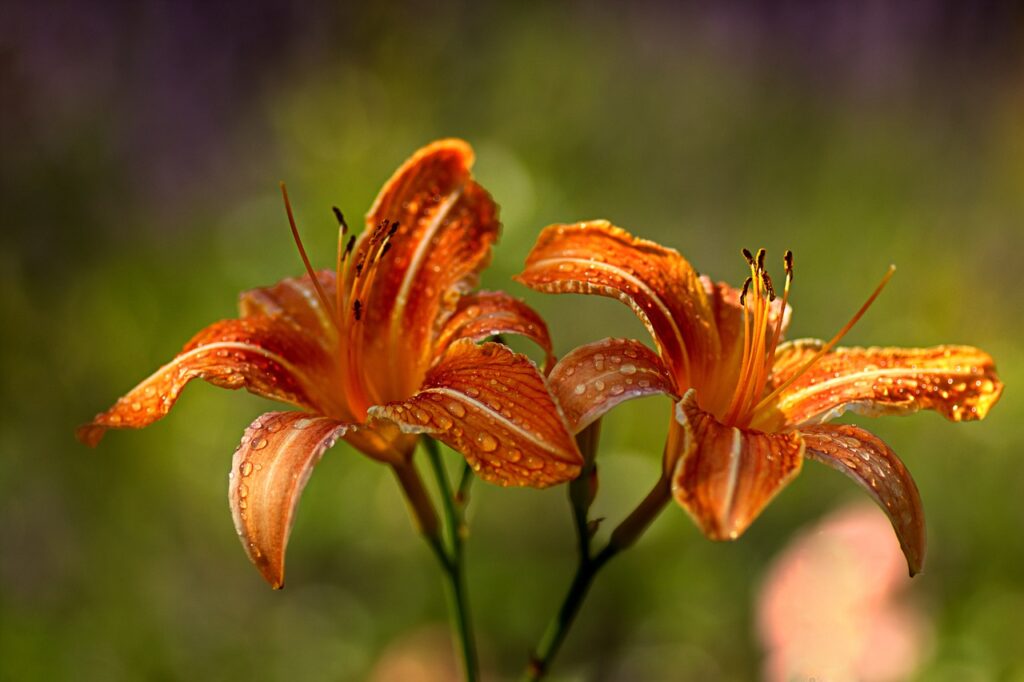
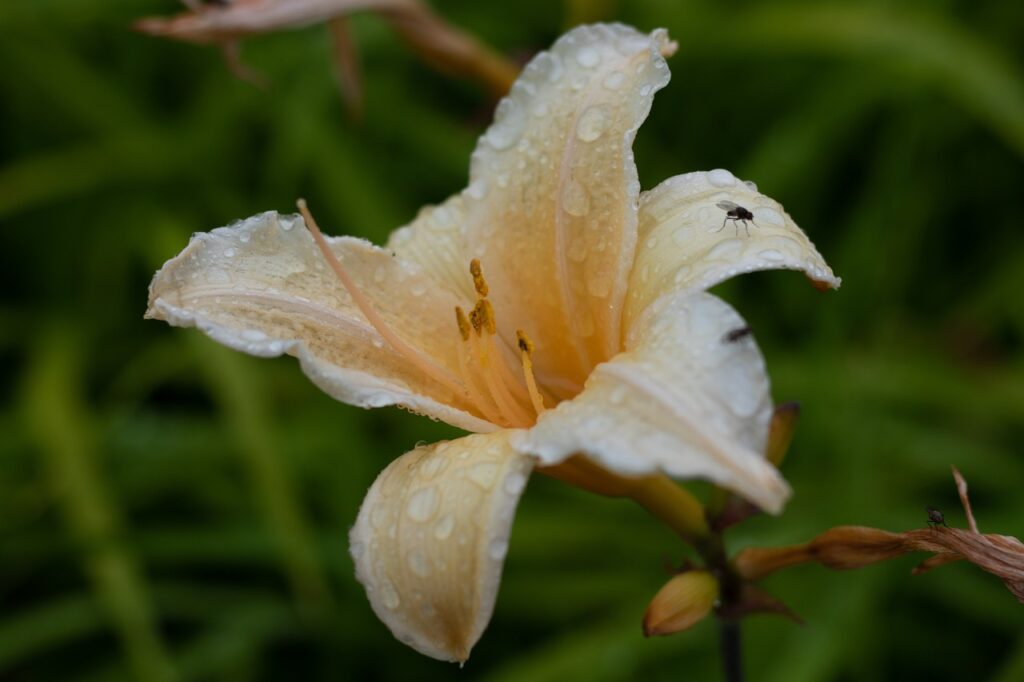
Deadheading is a gardening practice that involves removing the spent flowers from plants. To care for daylilies, deadheading entails cutting off the faded or withered blooms to keep the plant looking tidy and to encourage further blooming. The process is relatively simple and can be done by using a pair of sharp pruning shears or simply pinching off the spent blooms with your fingers. When deadheading daylilies, it is important to cut just above the next set of healthy leaves or flower buds. This ensures that the plant’s energy is redirected to producing new blooms rather than directing resources toward seed development.
There are several benefits to deadheading daylilies.
- It improves the overall appearance of the plant and the garden.
- Removing the faded flowers gives the garden a neater and more aesthetically pleasing look.
- Deadheading also helps to extend the blooming period of daylilies.
- By removing spent blooms, the plant is encouraged to produce new buds, leading to a longer flowering season.
- Deadheading prevents the plant from expending unnecessary energy on producing seeds. Instead,
- It helps the daylily plant channel its resources into new growth and flower production. This results in larger and more vigorous blooms.
- Helps to prevent self-seeding, which can lead to overcrowding and competition among plants.
Overall, the simple act of deadheading daylilies promotes a healthier and more beautiful display of flowers.
What is the right way to deadhead daylilies?
To deadhead daylilies effectively, follow these steps:
1. Wait for the right time: Deadheading should be done after the daylily blooms have faded and started to wither. Typically, this occurs when the petals have lost their vibrant color and are beginning to dry out.
2. Locate the spent blooms: Examine the daylily plant and identify the individual flowers that have finished blooming. These are the ones you will be removing.
3. Position the cut: Look for the stalk where the spent bloom is attached. Follow the stalk down until you reach a set of healthy leaves or buds. The cut should be made just above this set of leaves or buds.
4. Use the appropriate tools: It is recommended to use sharp pruning shears or scissors to make a clean and precise cut. This helps minimize any damage to the plant.
5. Make the cut: Position the pruning shears just above the healthy leaves or buds and cut the stalk cleanly. Ensure that you don’t cut too low or damage the emerging leaves or buds.
6. Dispose of the dead blooms: Collect the removed spent blooms and discard them appropriately. This prevents any potential disease or pest issues.
7. Repeat the process: Continue inspecting the daylily plant regularly for additionally spent blooms and repeat the deadheading process as needed throughout the blooming season.
Care for Daylilies: Water requirements
Watering and irrigation play a crucial role in the post-bloom care of daylilies. Proper watering practices help maintain the plant’s health and promote optimal growth for future blooms. Here are some key points to consider:
Firstly, it’s important to determine the watering needs of daylilies. These plants prefer evenly moist soil but not overly saturated conditions. They generally require about 1 inch (2.5 cm) of water per week, either from rainfall or supplemental irrigation. However, the exact watering frequency may vary depending on factors such as climate, soil type, and plant size. It’s essential to monitor the moisture level of the soil and adjust watering accordingly.
When watering daylilies after blooming, it’s recommended to water deeply and thoroughly. This encourages the development of a robust root system. Instead of frequent shallow watering, provide a slow and deep watering session to ensure the water reaches the plant’s root zone. Water at the base of the plant, avoiding overhead watering as it can lead to foliage diseases.
Can daylilies be overwatered?
To avoid overwatering or underwatering, it’s beneficial to pay attention to the soil moisture level. Daylilies prefer well-draining soil, so it’s important not to let them sit in standing water. Check the soil moisture by inserting your finger into the soil up to the second knuckle. If it feels dry at that depth, it’s time to water. However, if it feels moist, it’s best to wait before watering again.
In periods of hot weather or drought, daylilies may require more frequent watering. Be mindful of extreme heat conditions and adjust your watering schedule accordingly to prevent the plants from becoming stressed or dehydrated. Applying a layer of organic mulch around the base of the plants can help retain moisture, reduce evaporation, and regulate soil temperature.
By providing adequate and appropriate watering, you can ensure that your daylilies stay hydrated and healthy, setting the stage for successful future blooming seasons.
What fertilizer is best for daylilies?
Fertilization is an essential aspect of caring for daylilies after they bloom. Proper fertilization provides the necessary nutrients to support healthy growth, enhance flower production, and maintain the overall vigor of the plants. Here are some key considerations when it comes to fertilizing daylilies.
Understanding the fertilization needs of daylilies is crucial. These plants have moderate fertility requirements and benefit from a balanced fertilizer with an N-P-K (nitrogen-phosphorus-potassium) ratio of around 10-10-10 or similar. However, it’s always a good idea to conduct a soil test to determine the specific nutrient needs of your soil and adjust the fertilizer accordingly.
What is the best fertilizer for daylily?
When choosing the right fertilizer, opt for slow-release or granular fertilizers. These types of fertilizers gradually release nutrients over time, providing a steady supply of nourishment to the plants. Organic fertilizers, such as compost or well-rotted manure, can also be beneficial for daylilies, as they improve soil structure and nutrient content.
The frequency and application of fertilizer depend on the specific product and the condition of your soil. In general, it’s recommended to apply fertilizer in early spring before new growth emerges and again after the daylilies have finished blooming. Follow the manufacturer’s instructions regarding the recommended application rates. Avoid excessive fertilization, as it can lead to excessive foliage growth at the expense of flower production.
When applying fertilizer, it’s essential to distribute it evenly around the base of the plants. Avoid direct contact with the foliage, as it can cause burn or damage. Water the plants thoroughly after applying the fertilizer to help the nutrients penetrate the soil and reach the root zone.
In addition to synthetic fertilizers, organic alternatives can be used to fertilize daylilies. Organic options include compost, well-rotted manure, and organic fertilizer blends. These organic materials not only provide essential nutrients but also improve soil health, drainage, and nutrient retention over time.
Can I divide and replant daylilies?
Division and transplanting are important tasks to consider when caring for daylilies after they bloom. These practices help rejuvenate overcrowded clumps, promote healthier growth, and allow for the expansion of daylily beds. Here’s a closer look at division and transplanting:
Knowing when and why to divide daylilies is key. Over time, daylilies can form dense clumps, which may result in decreased blooming and overall vitality. Dividing them every few years, typically in early spring or early fall, helps maintain their health and vigor. Division also provides an opportunity to create new plants, expand your daylily collection, or share them with other gardening enthusiasts.
How do you divide daylilies?
To begin the division process, start by preparing the daylily clump. Gently dig around the clump using a garden fork or shovel, taking care not to damage the roots. Once loosened, carefully lift the entire clump out of the ground.
Next, separate the clump into smaller sections. Use your hands or a clean, sharp garden knife to divide the clump into individual fans or smaller clumps. Each section should have healthy roots and several leaves or fans. Avoid dividing the clumps into excessively small sections, as this can impede their ability to establish and grow.
When transplanting the divided daylilies, choose a suitable location with well-draining soil and partial to full sun exposure. Dig a hole wide and deep enough to accommodate the roots of the divided section, ensuring that the crown is at or slightly above soil level. Place the divided section in the hole, backfill it with soil, and gently firm it around the roots. Water thoroughly to settle the soil and eliminate any air pockets.
It’s important to keep the newly transplanted daylilies well-watered during the initial establishment period. Monitor the soil moisture and provide supplemental irrigation as needed, particularly during dry spells. Mulching around the transplants can help conserve moisture and regulate soil temperature.
By dividing and transplanting daylilies, you rejuvenate their growth, prevent overcrowding, and encourage the production of new blooms. It’s an opportunity to expand your daylily collection, share plants with others, and maintain a healthy and vibrant garden.
Daylily Pest Control
Pest and disease management is crucial for maintaining the health and vitality of daylilies after they bloom. While daylilies are generally resilient plants, they can still be susceptible to certain pests and diseases. Here are some key points to consider for effective pest and disease management:
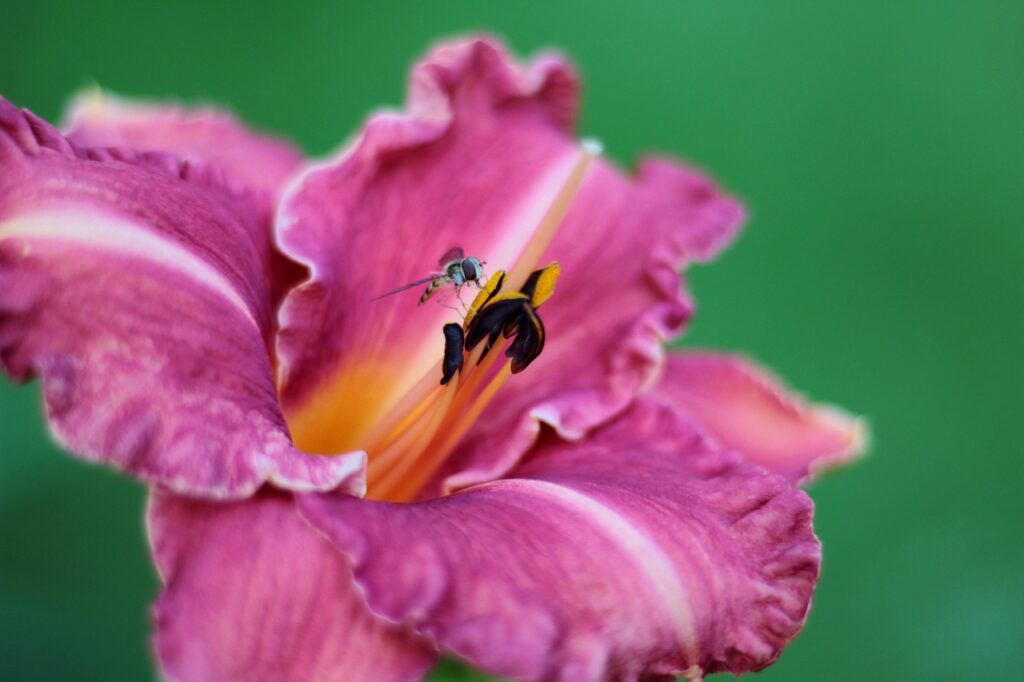
Identifying common pests and diseases affecting daylilies is the first step. Some common pests include aphids, thrips, slugs, snails, and spider mites. These pests can cause damage to the leaves, buds, and flowers of daylilies. Additionally, daylilies can be vulnerable to diseases such as crown rot, leaf streak, rust, and fungal leaf spots.
Regular inspection of the daylily plants is essential to identify any signs of pest infestations or disease symptoms. Look for visible pests, such as tiny insects, chewed leaves, or webbing. Be vigilant for any discoloration, spots, wilting, or deformities on the foliage or flowers, as these can indicate the presence of diseases.
Prevention is key when it comes to managing pests and diseases. Encourage good garden hygiene by removing any debris, fallen leaves, or dead plant material from the garden area. These can harbor pests and disease pathogens. Also, avoid overcrowding daylilies, as it can create a favorable environment for pests and diseases to thrive.
Natural remedies can be effective in controlling pests and diseases on daylilies. For instance, spraying a solution of water and mild soap can help control aphids and spider mites. Introducing beneficial insects, such as ladybugs or lacewings, can assist in controlling aphid populations. Physical barriers, such as copper tape or diatomaceous earth, can deter slugs and snails.
When faced with persistent or severe pest and disease problems, chemical control methods may be necessary. Consult with a local garden center or extension service for appropriate pesticide recommendations. Always follow the instructions on the label and use pesticides responsibly, considering their potential impact on beneficial insects and the environment.
Regular monitoring and early intervention are crucial in managing pests and diseases effectively. Promptly remove any infested or diseased plant parts to prevent the spread of pests and diseases. By staying vigilant and employing appropriate control measures, you can help keep your daylilies healthy and free from damaging pests and diseases.
How to care for daylilies in Winter
Winter care is essential for daylilies to ensure their survival and promote healthy growth in the following seasons. Here are some important considerations for winter care of daylilies:
Preparing daylilies for winter begins with cleaning up the garden beds. Remove any dead foliage, spent flower stalks, and debris around the daylilies. This helps prevent the accumulation of disease pathogens and pests during the dormant period. Dispose of the plant debris properly, away from the garden area.
Applying a layer of mulch around the base of daylilies is beneficial for winter protection. Mulch helps insulate the soil, regulate temperature fluctuations, and prevent frost heaving. Organic mulches like straw, shredded leaves, or wood chips are ideal choices. Apply a layer of mulch about 2 to 3 inches (5-7.5 cm) thick, ensuring that it covers the soil around the plants.
Should daylilies be cut back for winter?
Pruning daylilies before winter can also be helpful. Cut back the foliage to a few inches above the ground once it has completely died back. Pruning helps remove any remaining diseased or damaged foliage and promotes new growth in the spring.
In regions with harsh winters, additional protective measures may be necessary. Consider covering daylilies with a layer of burlap or frost blankets to shield them from extreme cold, freezing winds, or heavy snowfall. Make sure to secure the coverings properly to prevent damage from strong winds.
During winter, it’s important to monitor soil moisture levels. While daylilies are dormant, they still require some moisture to survive. Check the soil periodically and water if it becomes excessively dry. However, be cautious not to overwater, as excessive moisture can lead to root rot.
Periodically inspect daylilies during winter for signs of pest infestations or disease issues. Remove any pests or diseased parts promptly to prevent further damage.
In early spring, as winter recedes, gradually remove the winter coverings and start preparing the daylilies for the growing season. Remove the mulch around the plants, allowing the soil to warm up and new growth to emerge.
Conclusion
Care for daylilies, after they bloom, is essential for maintaining the health, beauty, and longevity of these wonderful plants. By following the proper care practices outlined above, including deadheading, watering and irrigation, fertilization, division and transplanting, pest and disease management, and winter care, you can ensure that your daylilies thrive and continue to grace your garden with their vibrant blooms.
Deadheading allows for continuous blooming and prevents the plant from expending unnecessary energy on seed production. Watering and irrigation practices ensure that daylilies receive adequate moisture without becoming waterlogged. Fertilization provides the necessary nutrients for healthy growth and abundant flowering. Division and transplanting rejuvenate overcrowded clumps and allow for the expansion of daylily beds. Pest and disease management help protect daylilies from harmful infestations and diseases. Lastly, proper winter care safeguards daylilies during the dormant period, ensuring their survival and promoting vigorous growth in the coming seasons.
By incorporating these care practices into your daylily maintenance routine, you can enjoy the beauty of these resilient and stunning plants year after year. So go ahead and apply these tips, and watch your daylilies flourish with vibrant blooms, adding a touch of elegance and color to your garden. Happy gardening!